![]()
|
|
Wire Mesh Melt Tutorial This is a method, similar to the one I describe in my aperture pour tutorial, for creating mixtures of molten glass. The ultimate difference between a mesh melt and an aperture pour is the patterns that one can create. Otherwise, they are similar processes. |
|
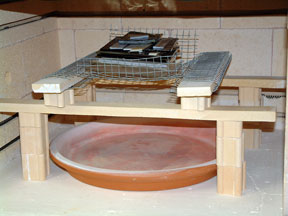
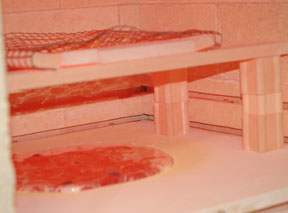
A basket of wire mesh is created and supported by kiln furniture. Sheets of glass are arranged on top of the wire mesh. Wire rabbit fencing or "hardware cloth" works well. Supposedly, it should not be galvanized - or the zinc in the galvanized coating causes toxic fumes. In this example a kilnwashed flower pot base has been placed underneath. This is not necessary, but it will help keep the melt circular. |
 |
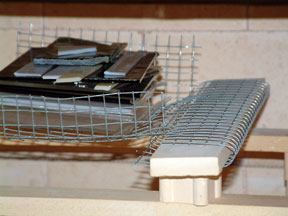
Close up view. |
 |
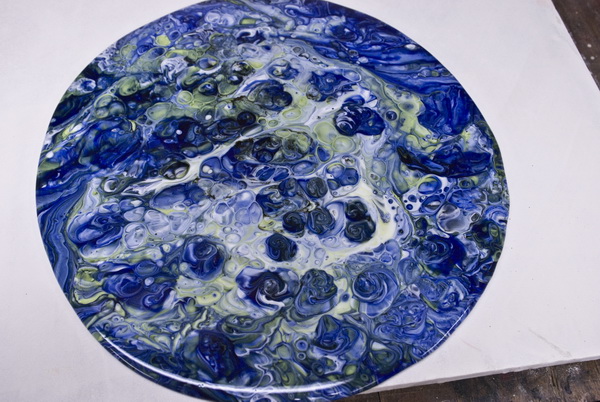
| This melt was allow to flow into a kiln washed flower pot base. This is the result of the layup in the images above. | 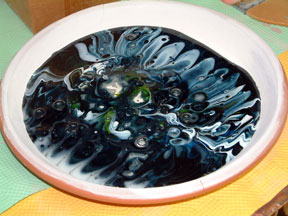 |
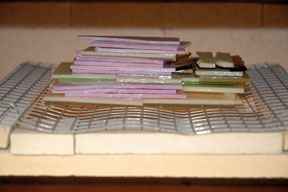
Another set up for a mesh melt. |
 |
 |
|
Photo taken at 1700F. This melt was allowed to flow directly onto the kiln shelf. (Sorry, I don't have a photo of this melt.) Important: If you are going to look into the kiln at 1700F you must take certain precautions. Wear protective eyewear, and even better a face shield. Wear protective high temp gloves as you open the door to the kiln. Be aware that synthetic fabrics are dangerous at these temperatures. It is safer to be wearing cotton. Synthetics can burst into flame or melt causing burns. It is best to avoid opening the kiln when it is at 1700F. The only reason I did here is to take this photo. |
 |
| Here are other examples of mesh melts. | 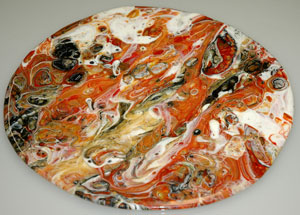 |
 |
|
 |
|